A user-owned Shortcuts automation can prepare future Apple Pay purchases as editable Neole drafts without sharing bank credentials or importing old account history.
Connecting a bank account can make expense tracking convenient, but it also creates a much larger connection than some people want. If the goal is simply to remember what you spent after tapping with Apple Pay, there is a narrower option.
Neole uses a Personal Automation in Apple's Shortcuts app. You choose the Wallet card that should trigger it, combine the transaction merchant and amount into text, and send that text to Neole's Capture Transaction Text action. Future eligible contactless purchases can arrive as editable review drafts. No bank credentials are shared, and the setup does not import your old account or Wallet history.
This is a practical guide to what the connection does, how to set it up, and where its limits are.
What connects to what
The connection has three parts:
- A transaction happens with a Wallet card you selected.
- Shortcuts places the transaction merchant and amount in a List, then combines the two items with spaces.
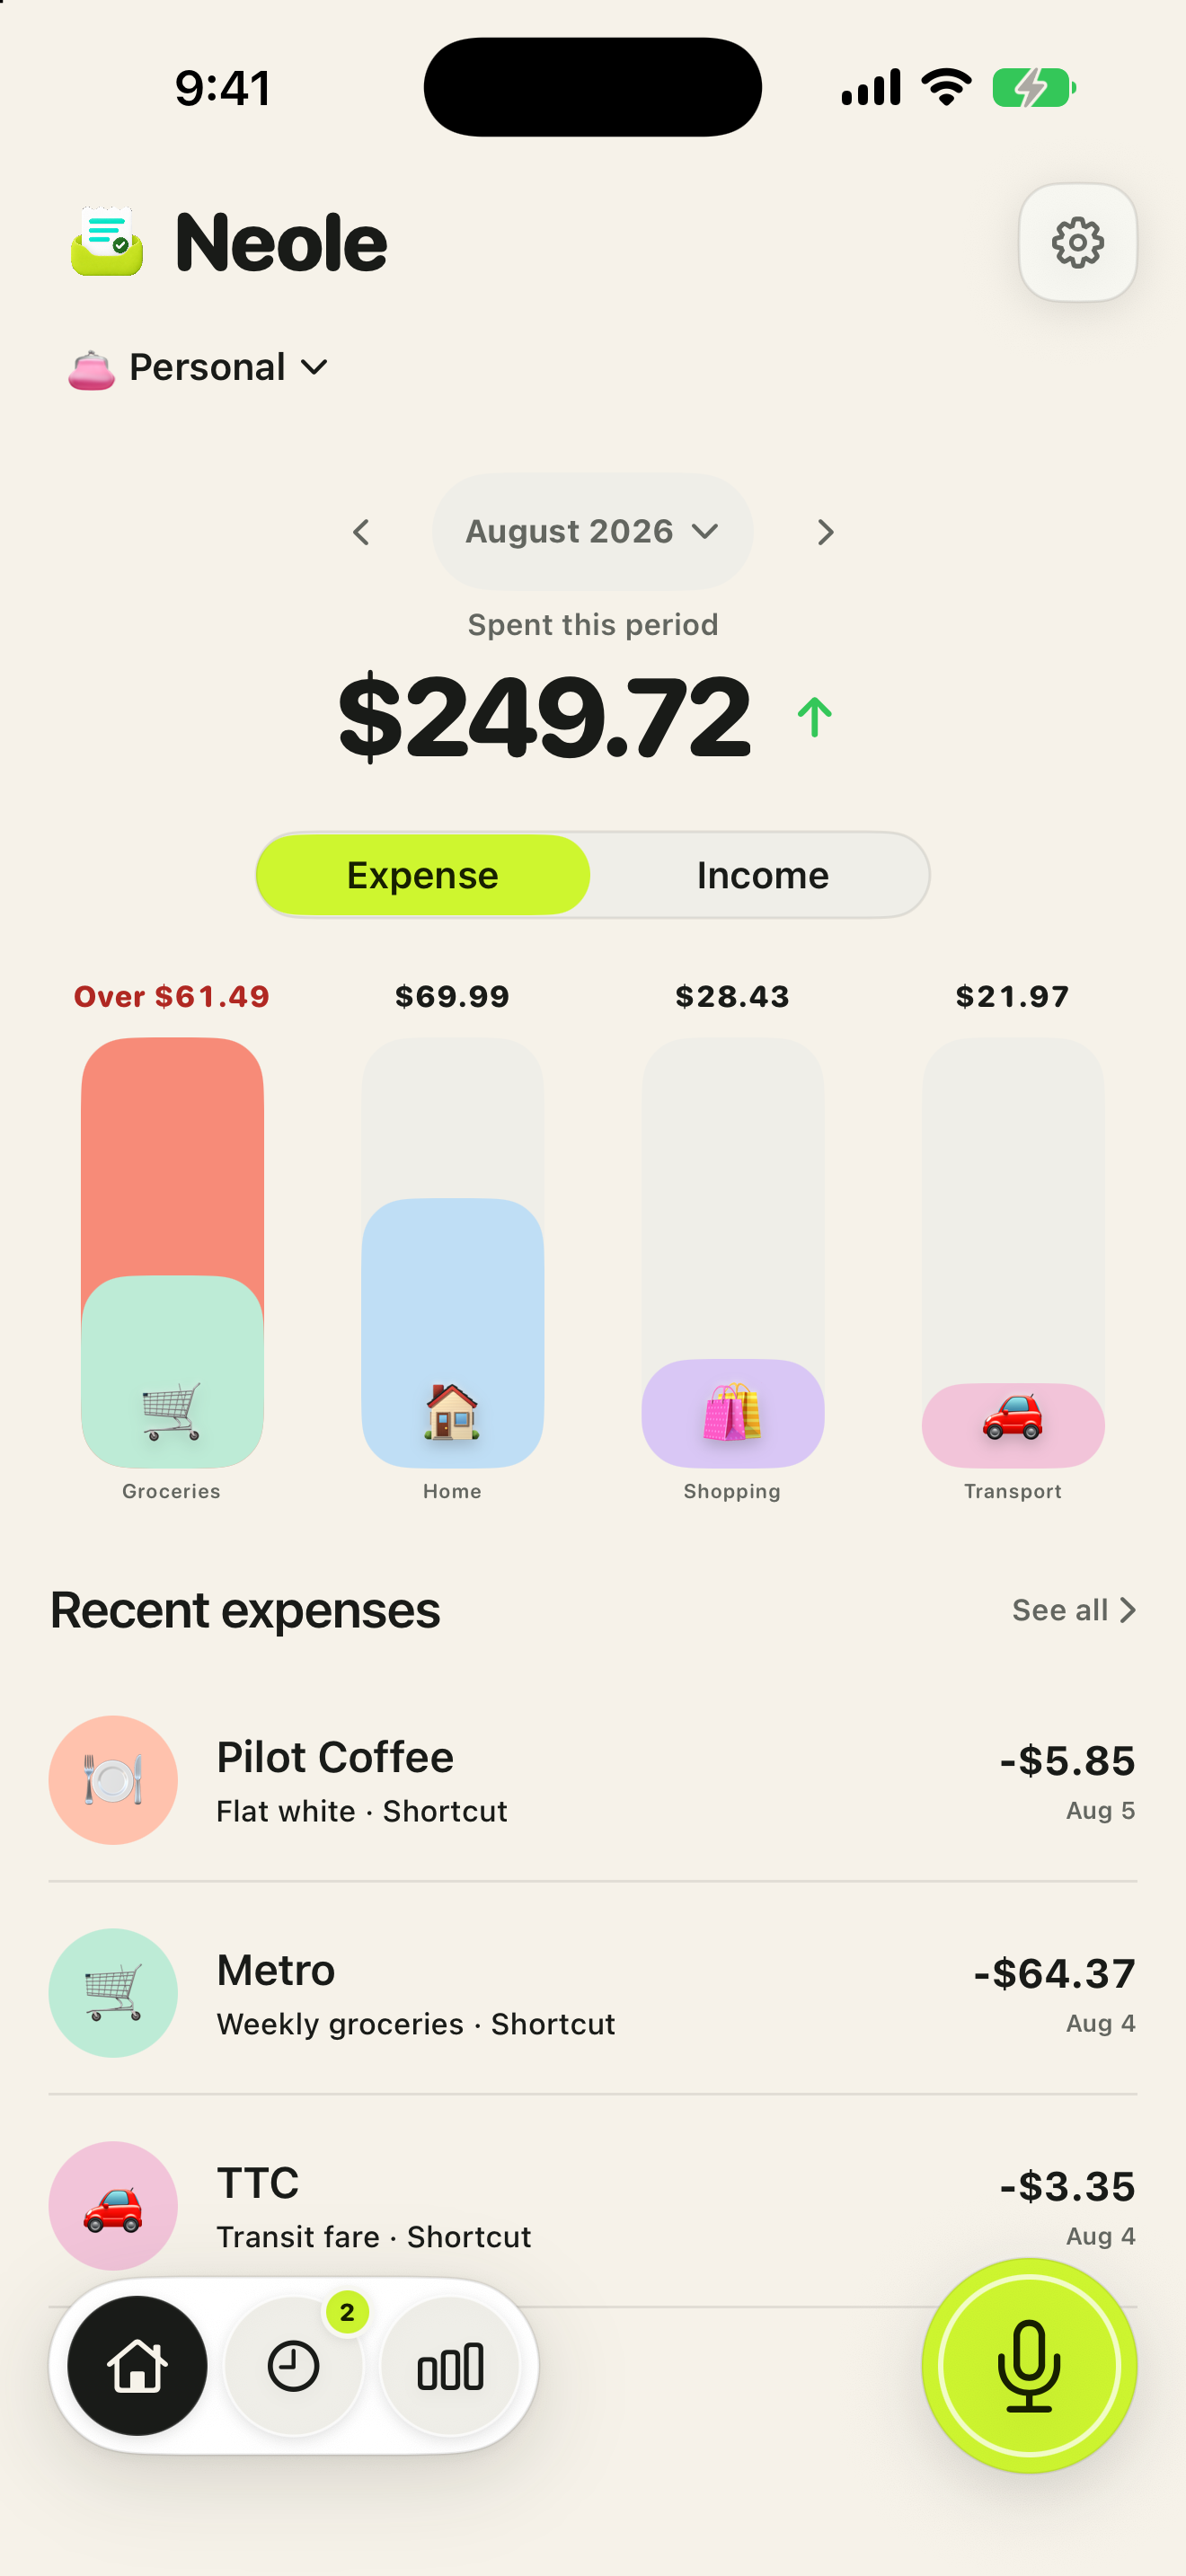
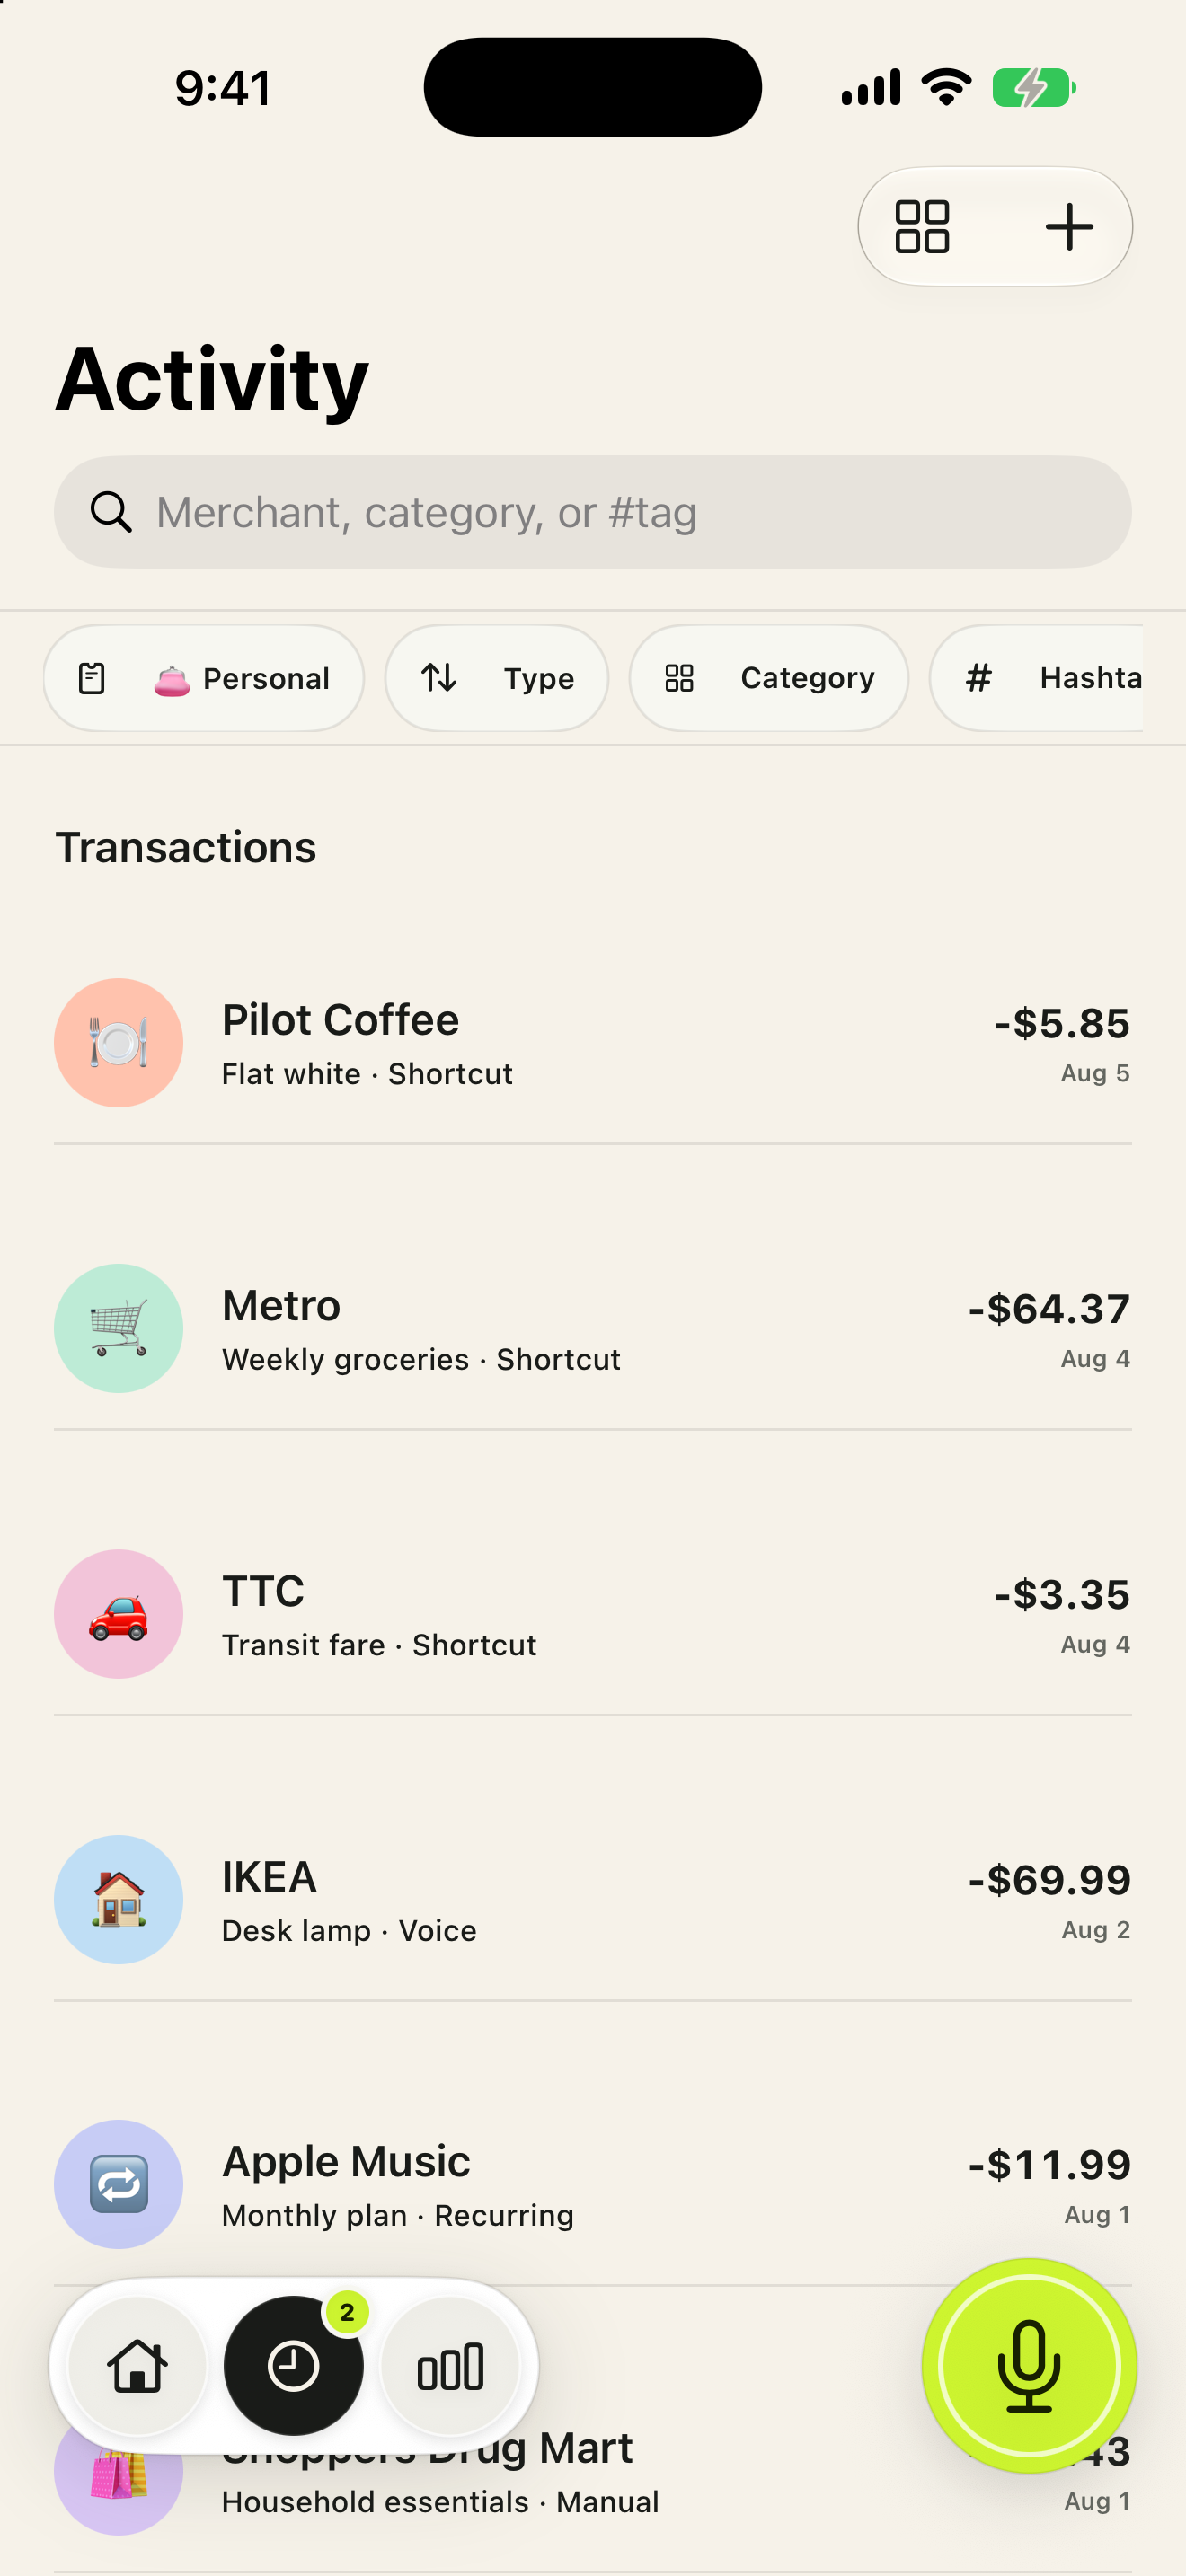
- Neole's Capture Transaction Text action turns the Combined Text into an editable review draft.
The automation belongs to you and stays visible in the Shortcuts app. Neole cannot create or approve it on your behalf. It also does not gain access to a bank feed, your bank password, or unrestricted Wallet history.
That boundary matters. This setup is designed to reduce repeated typing after future purchases. It is not a way to reconstruct every transaction you have ever made.
Before you begin
You will need:
- An iPhone running iOS 17 or later.
- Expense Tracker: Neole installed.
- A payment card set up for Apple Pay in Wallet.
- The Shortcuts app, which is included with iOS.
Open Neole first and choose the list that should receive the expenses. You might use a Personal list for everyday spending or create a separate list for a specific credit card, work expenses, or a trip.
Set up Apple Pay tracking in Neole
1. Open the guided setup
In Neole, open Settings and choose Apple Pay tracking. The guide explains the handoff to Shortcuts and keeps the automation under your control.
Notifications are optional. They can help when a captured expense needs review or recovery, but they are not the bank connection and they are not required for manual entry.
2. Create a Personal Automation
Open Shortcuts, select Automation, and add a new Personal Automation. Choose the Wallet or Transaction trigger shown on your version of iOS.
Apple's current Shortcuts guide describes a transaction trigger that runs from a selected card tap. Choose the card you want to connect. If you use several cards, start with one so the first test is easy to understand.
3. Build the transaction text
Add a List action. Insert these two items from the Transaction input:
- Transaction Merchant
- Transaction Amount
Then add Combine List and set it to combine the items with spaces. The result should be a short piece of text containing the merchant and amount.
4. Send the text to Neole
Add an action, search for Neole, and choose Capture Transaction Text. Pass the Combined Text into its Transaction Text field.
Leave optional fields empty until the basic automation works. The first goal is to confirm that one contactless card tap creates one review draft.
5. Review the run setting and enable the automation
Shortcuts lets Transaction automations run automatically. Choose the setting you are comfortable with, save the automation, and make sure it is enabled.
Automatic triggering does not have to mean silent bookkeeping. Capture Transaction Text creates an editable review draft, so you can correct a merchant, amount, category, or list before saving.
6. Test one real purchase
Make one eligible contactless purchase at a physical terminal with the card you selected. Keep the iPhone unlocked for the first test and choose Always Allow if Shortcuts asks. Then open Neole and confirm that the transaction arrived for review.
Check the merchant, amount, category, date, and currency before saving. A successful first test proves that this device and this automation delivered one transaction. It does not prove that every card, region, or payment situation will behave identically.
What Neole does not ask for
This setup does not ask for:
- Your bank username or password.
- A connection to your bank account.
- Permission to read bank notifications.
- Access to unrestricted Apple Wallet history.
- An import of past transactions.
Neole's current product guide says the expense log stays on the device and that no account is required. Its App Store privacy label currently reports Data Not Collected. As with every App Store privacy label, that statement is supplied by the developer and presented by Apple.
If a purchase does not appear
Start with the smallest checks:
- Confirm that the Personal Automation is enabled in Shortcuts.
- Confirm that the card you used matches the card selected in the trigger.
- Open the automation and confirm that Transaction Merchant and Transaction Amount remain in the List, Combine List still uses spaces, and Combined Text still feeds Neole's Capture Transaction Text action.
- Review any permission prompt that Shortcuts displayed during the first run.
- Enter the expense manually or by voice so your record stays complete while you troubleshoot.
Apple Pay tracking is optional. Manual and voice capture remain available, which means a missed automation does not have to become a missing expense.
A smaller connection can be enough
A bank feed can answer broad questions about an account. A user-owned Shortcuts automation solves a narrower one: how do I keep a reviewable record after I tap to pay?
For people who want that smaller connection, Neole offers a clear boundary. You select the card, approve the automation, review what arrives, and keep your bank credentials out of the process.
Neole is one of three focused iPhone apps from Estuaire Studio. Each product is built around a specific job rather than a single account that gathers every part of daily life.